【Firebase】【実装編】slack認証
はじめに
こんにちは!大ちゃんの駆け出し技術ブログです。
先日Firebaseを使用したslack認証の設計についての記事の続きになります。
【Firebase】Sign in with Slackの実装方法(設計) - 大ちゃんの駆け出し技術ブログ
今回からいよいよ実装編ということでslack認証をFirebase上で実際に行っていきたいと思います。
最終的にはRails APIと連携するので、下記の図でいうところの①、②の部分です。
https://storage.googleapis.com/zenn-user-upload/8y1fnnmxt33siqkhu2bn6etkzp2y
Rails API×Firebase authの場合、Railsは何をすべきなのかを考えた【設計編】
Firebaseアプリ開発の準備
まず、firebaseのサーバー上で起動するfunctionsをローカルで開発していきます。基本的には公式さんの動画に沿って行います。
https://www.youtube.com/watch?v=DYfP-UIKxH0
まず、ターミナルでnodeのバージョンを確認してください。
【ターミナル】
$ node --version
v14.16.0 // 9.0以上
$ npm --version
6.14.11  // 5.0以上
次にローカルにfirebase-toolsをインストールします。
$ npm install -g firebase-tools
npm WARN deprecated request@2.88.2: request has been deprecated, see https://github.com/request/request/issues/3142
npm WARN deprecated har-validator@5.1.5: this library is no longer supported
/usr/local/bin/firebase -> /usr/local/lib/node_modules/firebase-tools/lib/bin/firebase.js

> re2@1.15.9 install /usr/local/lib/node_modules/firebase-tools/node_modules/re2
> install-from-cache --artifact build/Release/re2.node --host-var RE2_DOWNLOAD_MIRROR || npm run rebuild

Trying https://github.com/uhop/node-re2/releases/download/1.15.9/darwin-x64-83.br ...
Writing to build/Release/re2.node ...
Done.

> protobufjs@6.11.2 postinstall /usr/local/lib/node_modules/firebase-tools/node_modules/protobufjs
> node scripts/postinstall

+ firebase-tools@9.10.2
added 660 packages from 418 contributors in 42.985s

$ firebase --version
9.10.2 // versionの確認
そのあとローカル上fでfirebase loginコマンドを実行します。
$ firebase login
i  Firebase optionally collects CLI usage and error reporting information to help improve our products. Data is collected in accordance with Google's privacy policy (https://policies.google.com/privacy) and is not used to identify you.

? Allow Firebase to collect CLI usage and error reporting information? Yes // Yesを選択
i  To change your data collection preference at any time, run `firebase logout` and log in again.

Visit this URL on this device to log in:
https://accounts.google.com/o/oauth2/auth?client_id=563584335869-fgrhgmd47bqnekij5i8b5pr03ho849e6.apps.googleusercontent.com&scope=email%20openid%20https%3A%2F%2Fwww.googleapis.com%2Fauth%2Fcloudplatformprojects.readonly%20https%3A%2F%2Fwww.googleapis.com%2Fauth%2Ffirebase%20https%3A%2F%2Fwww.googleapis.com%2Fauth%2Fcloud-platform&response_type=code&state=443331383&redirect_uri=http%3A%2F%2Flocalhost%3A9005

Waiting for authentication...
Waiting for authentication...が表示されるとGoogleの認証画面が表示されるので好きなアドレスを使用してログインしてください。
ターミナル上とブラウザ上にログインが成功したことを示すメッセージが表示されます。
ターミナル
Success! Logged in as kurukuruskt28@gmail.com
ブラウザ
Firebaseのアプリを作成
firebase initコマンドを実行します。
$ firebase init
設定は動画で紹介されているものと同じ設定です。途中でJavaScriptかTypeScriptを選択するけど今回はサンプルのファイルがTSのためTSを選択してください。
https://www.youtube.com/watch?v=DYfP-UIKxH0
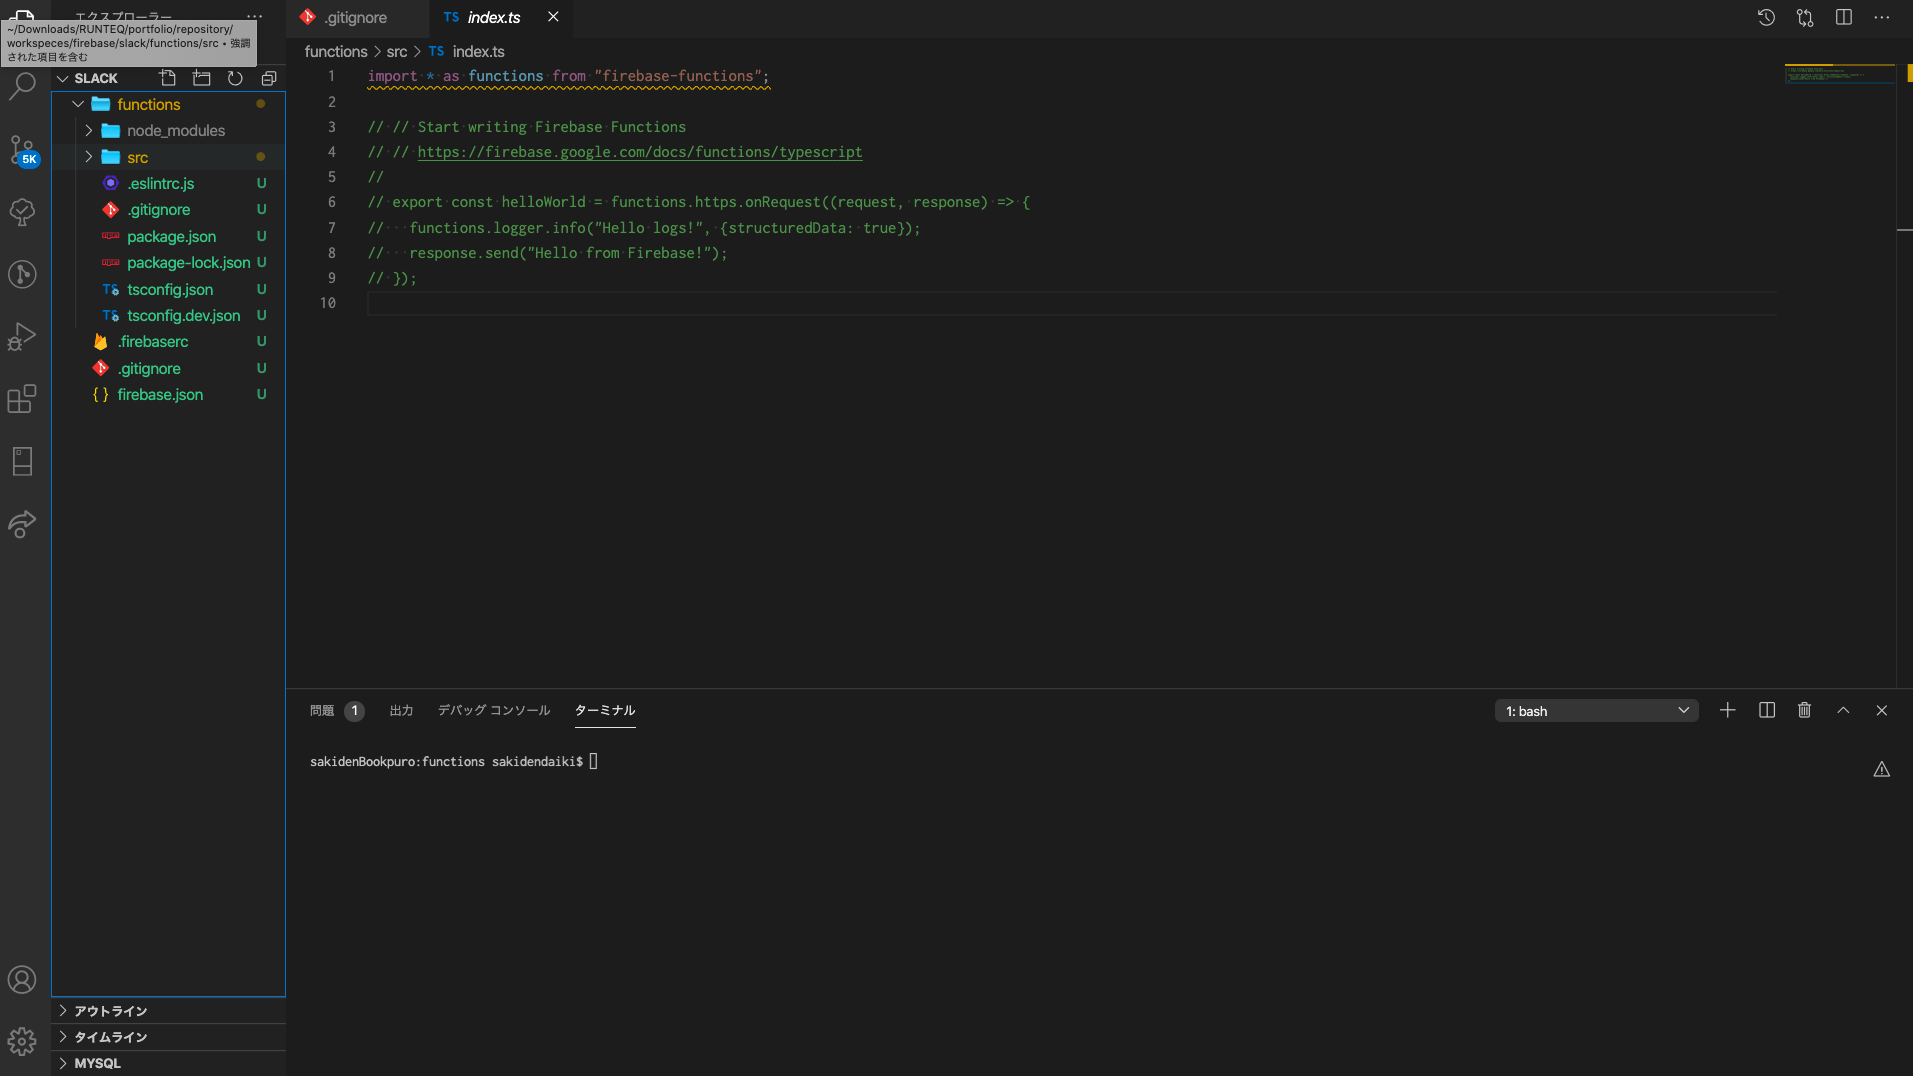
こんな感じでファイルが作成されていればOKです。
念のためadminとfunctionsのバージョンを最新のものにインストールしてください。cd functionsを使用する理由ですが、最後にデプロイする時にpackage.jsonはfunctionsディレクトリのものが参照されるためです。このようにfirebaseアプリの開発ではfunctionsディレクトリに移動することが度々あるので注意してください。
$ cd functions
$ npm install firebase-admin@latest firebase-functions@latest
ローカルでデバッグする設定
firebaseはデプロイするとデバッグができませんが、ローカルでならデバッグをすることができます。以下の記事を参考にしていただければ速攻で設定できました。
Debugging Firebase Functions in VS Code
デバックの設定
// package.json
{
"scripts": {
  ...
  "build:watch": "tsc -w",
...
}
ターミナルの起動
cd functions
npm run build:watch
秘密鍵を取得
プロジェクトのApp Engine default service accountを指定して秘密鍵を作成します。好きなディレクトリに保存して絶対パスでパスを通します。
export GOOGLE_APPLICATION_CREDENTIALS=/保存したデイレクトリの絶対パス/
別ターミナルでfirebaseのemulatorsをinspect-functionsモードで起動します
firebase emulators:start --inspect-functions
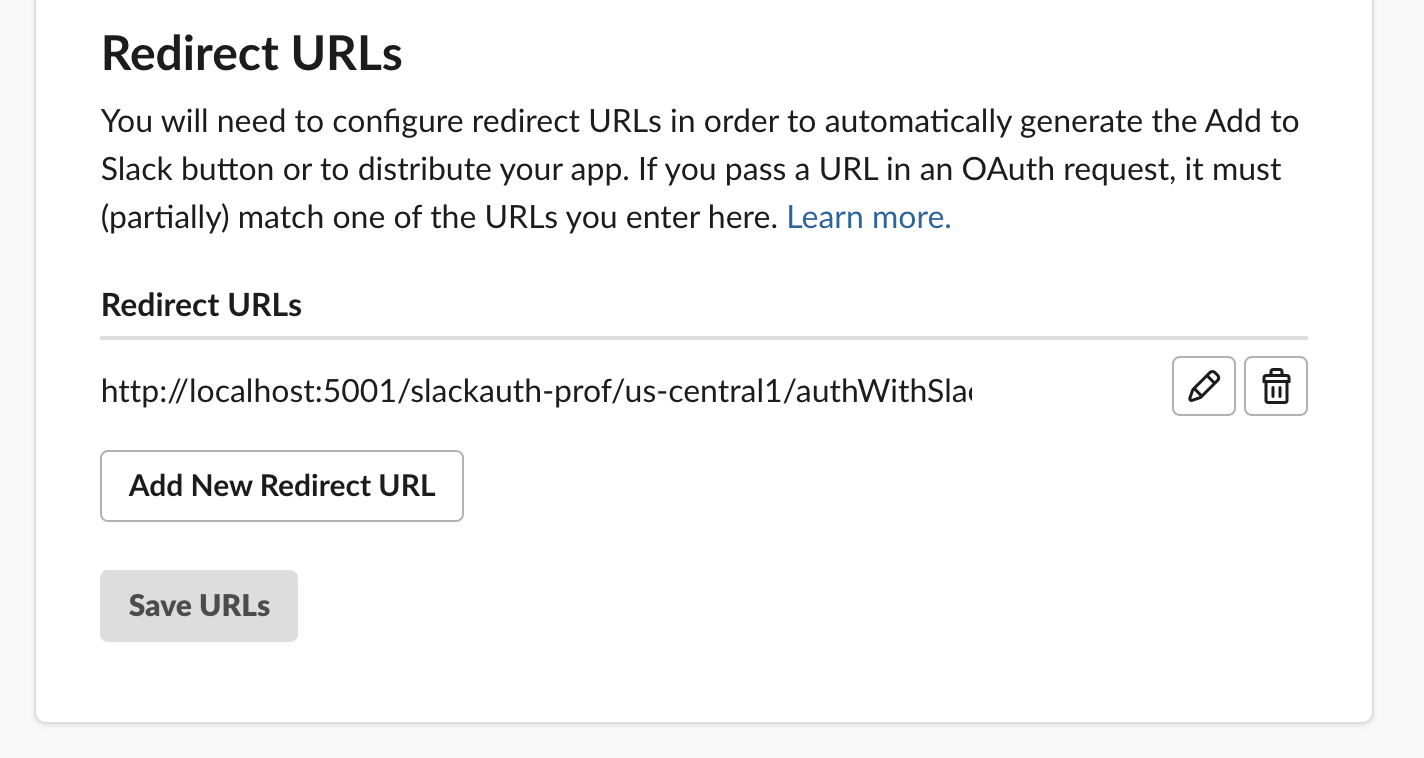
コールバックURLの指定
上記コマンド実行後、functionのURLがターミナル上に表示されているのでSlackの開発ブラウザで下記URLをコールバックURLとして指定 デフォルトでは以下のURLだと思いますが、ターミナルで確認してください。 http://localhost:5001/slackauth-prof/us-central1/authWithSlack
slackアプリ開発ページ
https://api.slack.com/apps/A01QG108VGA?created=1
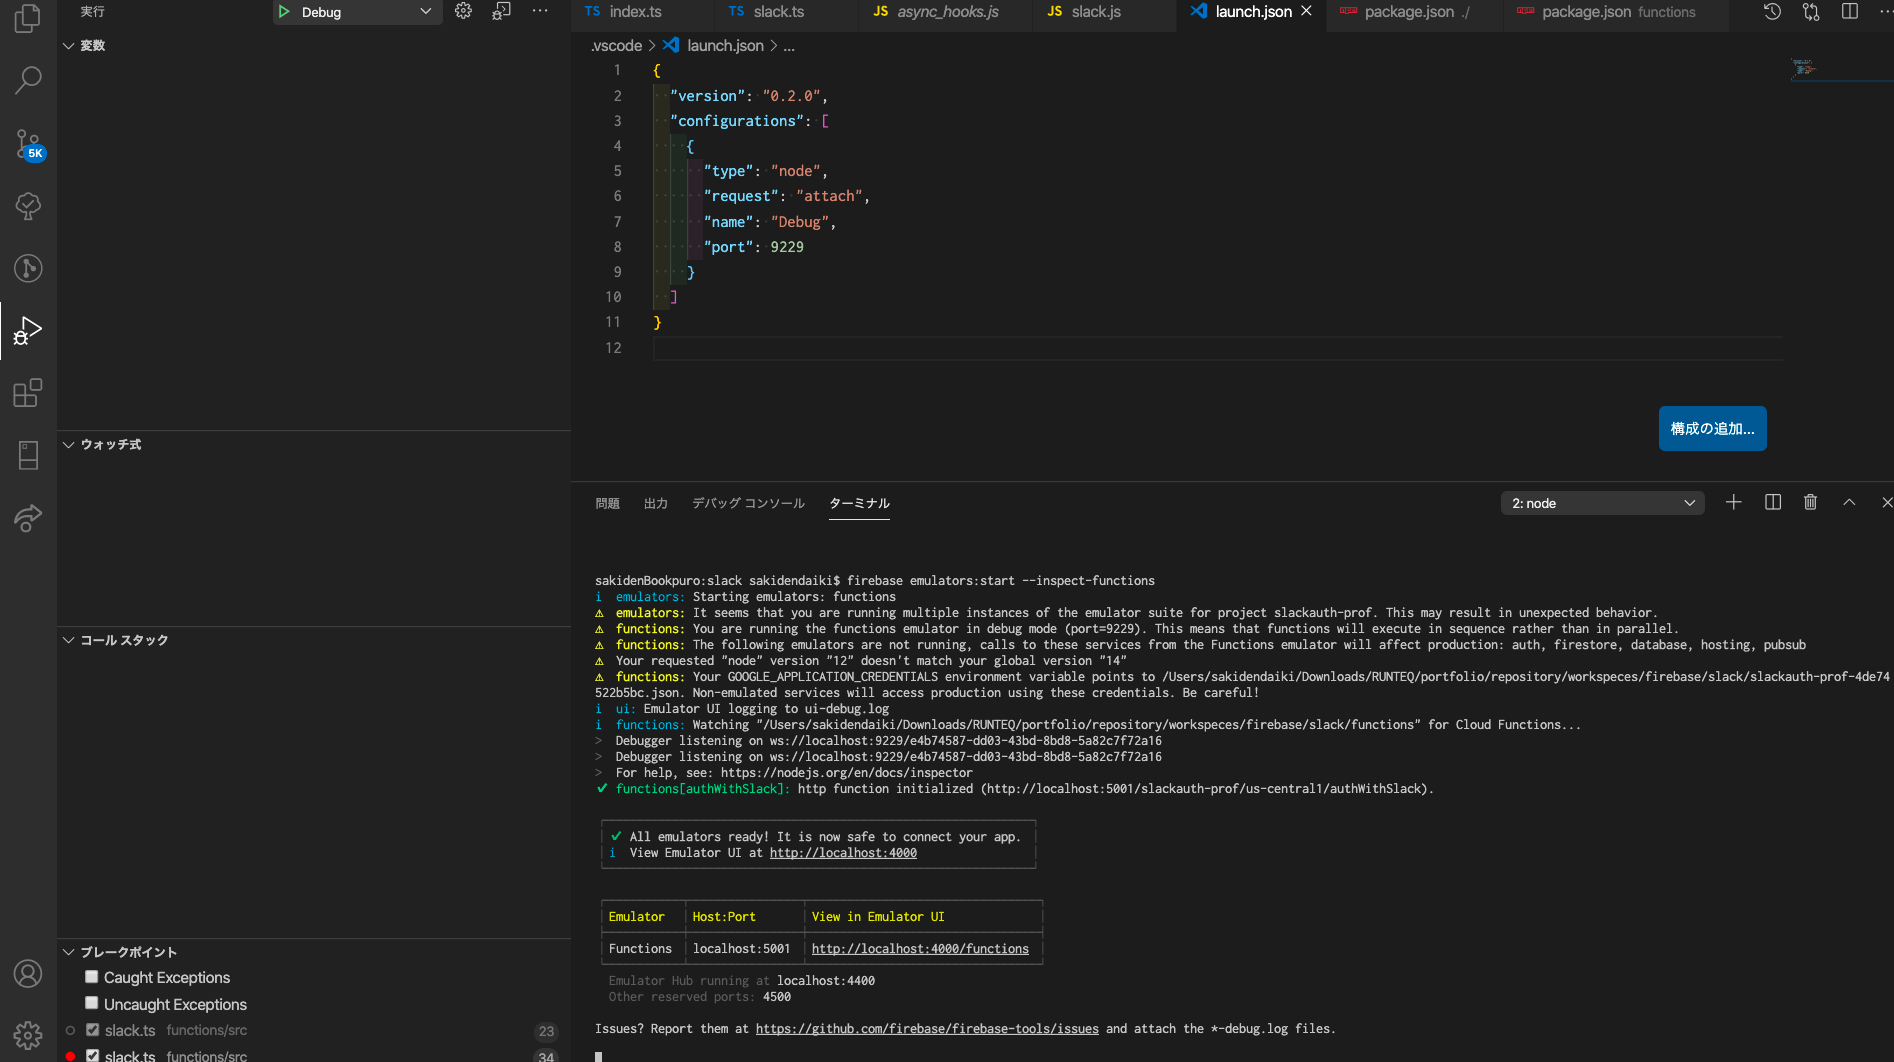
vscodeのlaunch.jsonにport9229を指定してデバッグの設定ファイルを作成
{
  "version": "0.2.0",
  "configurations": [
    {
      "type": "node",
      "request": "attach",
      "name": "Debug",
      "port": 9229
    }
  ]
}
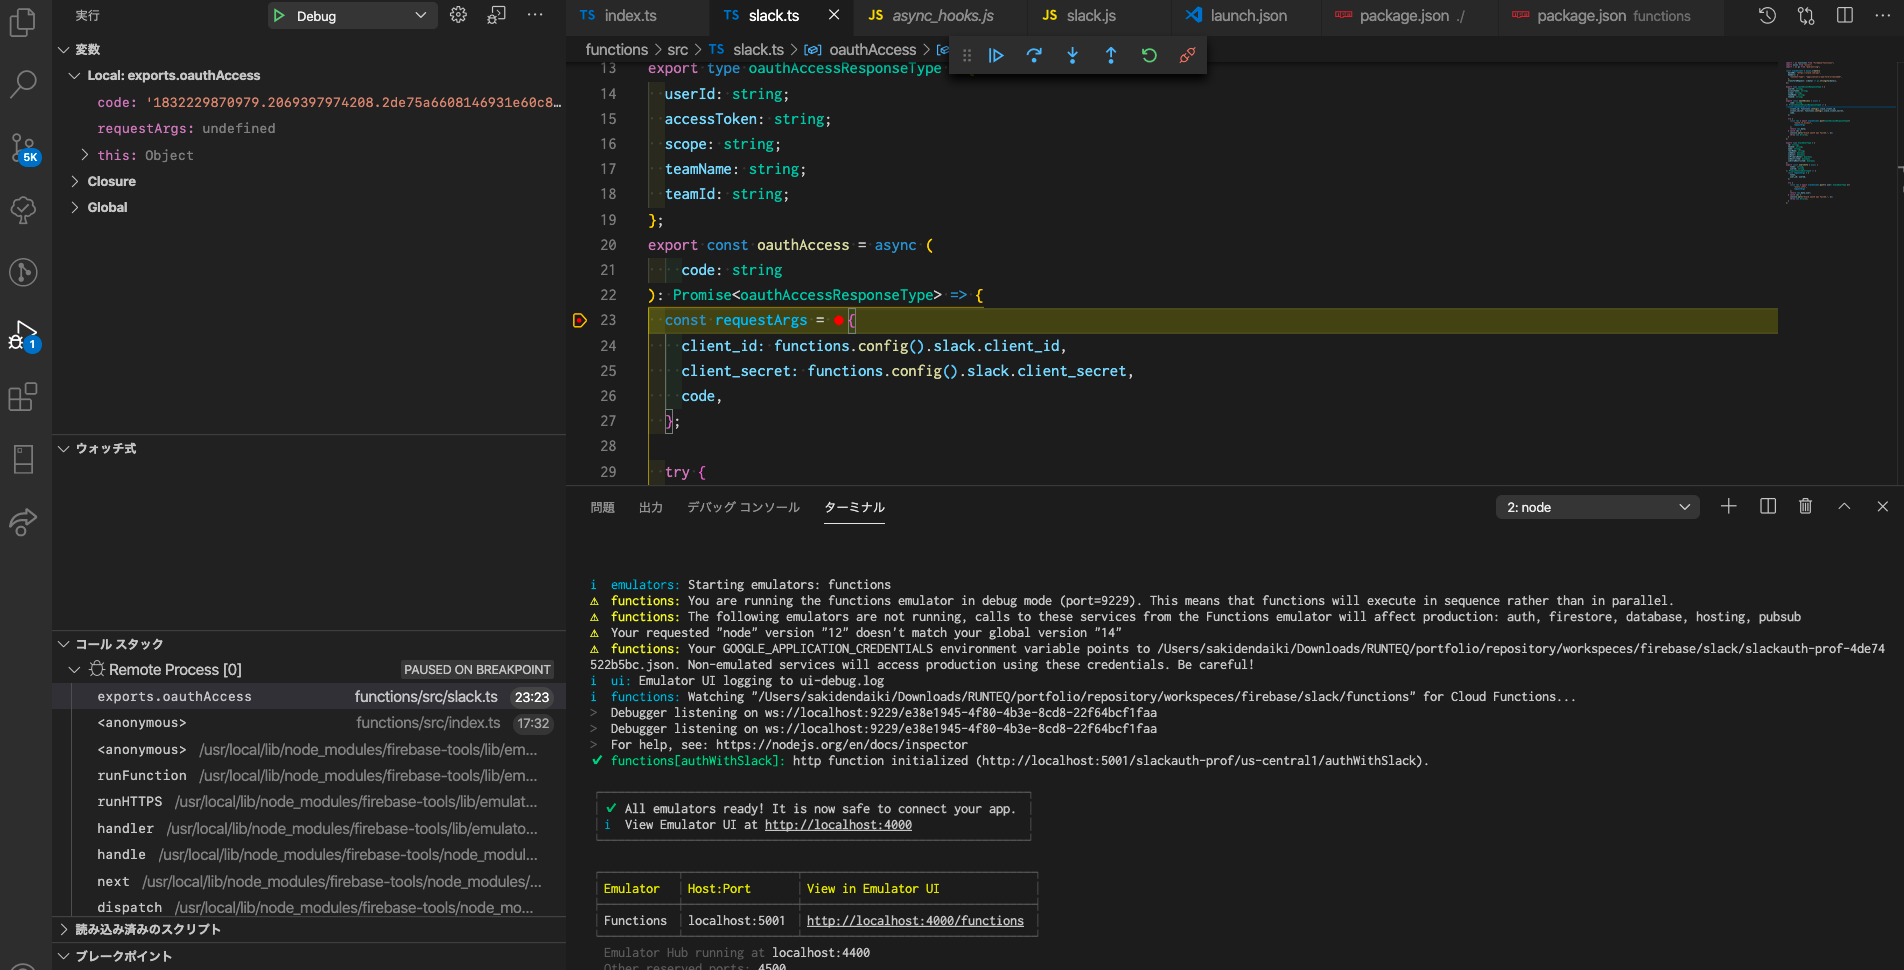
TypeScriptファイルのブレークポイントを指定
デバッグのスタートボタンを押すとDebugger attached.というメッセージが表示されたら準備完了です。れで実際にslackログインをするとデバックができるようになります。
ファイルを編集
次にsrc直下のファイルを編集していきます。下記参考ファイルで大体置き換え可能だったのですが、最終コミットが2年前と古く、またリントエラーで引っかかってしまうため以下のように修正したものを配置しました。
// functions/src/index.ts
import * as functions from "firebase-functions";
import * as admin from "firebase-admin";
import {oauthAccess} from "./slack";
import {URL} from "url";

admin.initializeApp({
  serviceAccountId: "slackauth-prof@appspot.gserviceaccount.com", // GCPから確認する
  credential: admin.credential.applicationDefault(), // 必須??
});

exports.authWithSlack = functions.https.onRequest(async (req, res) => {
  const slackAuthCode = req.query.code as string;
  const redirectUri = req.query.state as string | undefined;

  if (!slackAuthCode) {
    console.warn("code query string not find.");
    res.status(400).end();
  }

  const userCredential = await oauthAccess(slackAuthCode);

  try {
    const customToken = await admin
        .auth()
        .createCustomToken(userCredential.authed_user.id); // userIdではundefinedとなるため

    if (redirectUri) {
      const url = new URL(redirectUri);
      url.search = `t=${customToken}`;
      res.redirect(303, url.toString());
    } else {
      res
          .json({
            custom_token: customToken,
          })
          .end();
    }
    return;
  } catch (e) {
    console.error("Failed to create custom token:", e);
  }
});
// functions/src/slack.ts
import * as functions from "firebase-functions";
const { WebClient } = require("@slack/web-api"); // eslint-disable-line

export type oauthAccessResponseType = {
  userId: string;
  accessToken: string;
  scope: string;
  teamName: string;
  teamId: string;
  authed_user: any; // eslint-disable-line
};
export const oauthAccess = async (
    code: string
): Promise<oauthAccessResponseType> => {
  try {
    const res = await new WebClient().oauth.v2.access({ // oauth.accessは現在非推奨
      client_id: functions.config().slack.client_id,
      client_secret: functions.config().slack.client_secret,
      code,
    });
    return res;
  } catch (e) {
    console.warn("Slack oauth was failed.", e);
    throw new Error();
  }
};
コード自体を全て説明すると長くなるので変更箇所だけ説明します。
Admin SDKの初期化
まずAdmin SDKの初期化をする箇所ですが、設定を以下のように変更しています。
admin.initializeApp();
↓
admin.initializeApp({
  serviceAccountId: "slackauth-prof@appspot.gserviceaccount.com", // GCPから確認する
  credential: admin.credential.applicationDefault(), // 必須??
});
まず、serviceAccoundIdですが公式のセットアップの箇所のものを参考にしました。
【参考コード】
admin.initializeApp({
  serviceAccountId: 'my-client-id@my-project-id.iam.gserviceaccount.com',
});
※ serviceAccountIdは秘匿情報ではないため環境変数に設定する必要はないとも上記のページで書かれています。
Firebase Admin SDKを使用するためにGoogle サービス アカウントを使用する必要があるため、それを指定してあげる必要があるそうです。serviceAccountIdはGoogle Cloud Consoleの方で確認できます。
しかし、これだけではデプロイ時になぜかうまく動作しませんでした。よくよく公式の説明を見ると、ービス アカウント ファイルと Google アプリケーションのデフォルト認証情報を組み合わせた認可方法で SDK を初期化してあげる必要があるとかいてありました。
サーバーに Firebase Admin SDK を追加する
よってアカウントを指定する設定と一緒に下記の設定も必要だと考えます。
admin.initializeApp({
  credential: admin.credential.applicationDefault(),
});
slack APIへのアクセス方法
コードを少し簡易的にしたかったことと、認証時にNode Slack SDKを使用する方法が紹介されていたため下記のように変更しました。
export const oauthAccess = async (
  code: string
): Promise<oauthAccessResponseType> => {
  const requestArgs = {
    client_id: functions.config().slack.client_id,
    client_secret: functions.config().slack.client_secret,
    code,
  };

  try {
    const res = await slackClient.post<oauthAccessResponseType>(
      "oauth.v2.access",
      requestArgs
    );
    // const res = await slackClient.post<oauthAccessResponseType>('oauth.access', requestArgs);
    return res.data;
  } catch (e) {
    console.warn("Slack oauth was failed.", e);
    throw new Error();
  }
↓
export const oauthAccess = async (
    code: string
): Promise<oauthAccessResponseType> => {
  try {
    const res = await new WebClient().oauth.v2.access({
      client_id: functions.config().slack.client_id,
      client_secret: functions.config().slack.client_secret,
      code,
    });
    return res;
  } catch (e) {
    console.warn("Slack oauth was failed.", e);
    throw new Error();
  }
};
【認証部分の紹介ページ】
これに伴い@slack/web-api @slack/events-apiをインストールしておきます。events-apiは今のところ必要ありませんが、後々アプリで使用することを想定してインストールしています。
$ npm install @slack/web-api @slack/events-api
npm WARN slack@1.0.0 No description
npm WARN slack@1.0.0 No repository field.

+ @slack/web-api@6.1.0
+ @slack/events-api@3.0.0
added 310 packages from 250 contributors and audited 310 packages in 14.521s

59 packages are looking for funding
  run `npm fund` for details
ちなみにfunctions.config()の箇所ですが、firebaseの環境変数の設定方法だそうです。
firebase functions:config:set someservice.key="THE API KEY" someservice.id="THE CLIENT ID"
上記の例を参考にslackアプリのclient_idとclient_secretを設定しましょう。
$ firebase functions:config:set slack.client_id="hogehogehoge" slack.client_secret="fugafugafugafuga"
✔  Functions config updated.

Please deploy your functions for the change to take effect by running firebase deploy --only functions
念のため環境変数が設定されているか確認してみます。 firebase functions:config:getで確認できます。
$ firebase functions:config:get
{
  "slack": {
    "client_id": "hogehogehoge",
    "client_secret": "fugafugafugafuga"
  }
}
注意として、ターミナルで設定した環境変数はデプロイ時には反映されるがローカルサーバーには反映されません。よってローカルでfunctionsを試す時には反映されないのです。
反映させるためには下記コマンドを実行します。
$ functions:config:get > .runtimeconfig.json
作成されたファイルはfunctions/配下に配置します。
Cloud Functions for Firebaseで開発を始めるときのちょっとした知見 - Qiita
上記の設定行うことでローカルでも設定した環境変数を扱うことができます。
デプロイ
EsLintを有効にしたためアップロードする前に必ずLintエラーを解決する必要がありますのでEsLintエラーを全て解決してからデプロイします。rootパスeslintのコマンドを打つとエラーになるのでfunctionsディレクトリに移動します。
$ cd functions
$ eslint src --fix
修正後デプロイします。ルートディレクトリに戻る必要があります。
$ cd ..
$ firebase deploy
デプロイ後に作成されたURLを使用してコールバックURLをslack開発用に指定します。URLはデプロイしたfirebaseプロジェクトのfunctionsに追加されているのでそこから確認できます。

Vueプロジェクトを作成
簡単なvueプロジェクトを作成します。
$ vue create sample_app
サンプルファイルを参考にvueを記述します。詳しくはサンプルファイルのReactのTSファイルをみてください。
<template>
  <div class="home">
    <img alt="Vue logo" src="../assets/logo.png" />
    <div>
      <div>
        <a :href="slackAuthUrl"
          ><img
            alt="Sign in with Slack"
            height="40"
            width="172"
            src="https://platform.slack-edge.com/img/sign_in_with_slack.png"
            srcset="
              https://platform.slack-edge.com/img/sign_in_with_slack.png    1x,
              https://platform.slack-edge.com/img/sign_in_with_slack@2x.png 2x
            "
        /></a>
      </div>
    </div>
    <HelloWorld msg="Welcome to Your Vue.js App" />
  </div>
</template>

<script>
import firebase from "firebase";
import HelloWorld from "@/components/HelloWorld.vue";

export default {
  name: "Home",
  components: {
    HelloWorld,
  },
  data() {
    return {
      slackAuthUrl: `https://slack.com/oauth/v2/authorize?user_scope=identity.basic&client_id=${process.env.VUE_APP_SLACK_CLIENT_ID}&state=${window.location.href}`,
      user: {},
    };
  },
  mounted() {
    (async () => {
      const queryPrams = new URLSearchParams(window.location.search);
      const token = queryPrams.get("t");

      if (token) {
        window.history.replaceState(
          undefined,
          window.document.title,
          window.location.href.replace(window.location.search, "")
        );
        await firebase
          .auth()
          .signInWithCustomToken(token)
          .catch((error) => {
            var errorCode = error.code;
            var errorMessage = error.message;
            console.log(errorCode);
            console.log(errorMessage);
          });
      }

      await firebase.auth().onAuthStateChanged((user) => {
        if (user) {
          this.user = user;
        } else {
          this.user = {};
        }
      });
    })();
  },
  methods: {
    hundleSignOut() {
      firebase
        .auth()
        .signOut()
        .then(function () {
          console.log("sign out successful");
        })
        .catch(function (error) {
          console.log(error);
        });
    },
  },
};
</script>
一つ説明するのならばボタンのHTML作成ですね。
<div>
  <a :href="slackAuthUrl"
    ><img
      alt="Sign in with Slack"
      height="40"
      width="172"
      src="https://platform.slack-edge.com/img/sign_in_with_slack.png"
      srcset="
        https://platform.slack-edge.com/img/sign_in_with_slack.png    1x,
        https://platform.slack-edge.com/img/sign_in_with_slack@2x.png 2x
      "
  /></a>
</div>
slackAuthUrl: `https://slack.com/oauth/v2/authorize?user_scope=identity.basic&client_id=${process.env.VUE_APP_SLACK_CLIENT_ID}&state=${window.location.href}`,
Slackアプリを作っているのであれば以下のページからボタンを作成することができます。client_idは環境変数に入れてください。
これで全ての準備は整いました!しかし!
アクセスすると以下のようなエラーが表示されました。
Identity and Access Management (IAM) API has not been used in project
1234567890 before or it is disabled. Enable it by visiting
https://console.developers.google.com/apis/api/iam.googleapis.com/overview?project=1234567890
then retry. If you enabled this API recently, wait a few minutes for the action
to propagate to our systems and retry.
すごくテンションが下がりましたが、対応方法としてはGCP上でAPI を有効にすることで解決するようです。Googleのドキュメント優秀すぎる、、!
これでログインできました!!見た目はただ戻ってきているだけですが、コンソールで値が戻ってきていることは確認済みです!