【Gem】taskleafに無理やりdeviseを導入
はじめに
こんにちは!大ちゃんの駆け出し技術ブログです!
今回は有名なログインgemであるdeviseについて解説します。
RUNTEQでは基本的にdeviseではなくsorceryというgemを使ってログイン機能を学びます。しかし、今回自分のPFにはdeviseを使うことにしました。
※理由は別記事にて説明予定
導入
今回も例にしたがってtaskleafに実装していきます。基本的には公式の流れに沿って導入します。
念のためこの間Railsのバージョンに合わないgemを見つけたので、念のためgemがtaskleafで使用可能かどうか確認します。
Devise 4.0 works with Rails 4.1 onwards
「Devise 4.0はRails 4.1以降で動作します。」とあります。taskleafのRailsのバージョンは5.2.4.4ですので大丈夫そうですね。
$ rails -v
Rails 5.2.4.4
ではさっそく実装していきましょう
ダウンロード
# Gemfile
gem 'devise
$ bundle install
Fetching devise 4.7.3
Installing devise 4.7.3
次に以下のコマンドを実行してみます。
$ rails generate devise:install
すると2つのファイルが作成され、多くの指示が書かれるかなと思います。
$ rails generate devise:install
Running via Spring preloader in process 8284
      create  config/initializers/devise.rb
      create  config/locales/devise.en.yml
===============================================================================

Depending on your application's configuration some manual setup may be required:

  1. Ensure you have defined default url options in your environments files. Here
     is an example of default_url_options appropriate for a development environment
     in config/environments/development.rb:

       config.action_mailer.default_url_options = { host: 'localhost', port: 3000 }

     In production, :host should be set to the actual host of your application.

     * Required for all applications. *

  2. Ensure you have defined root_url to *something* in your config/routes.rb.
     For example:

       root to: "home#index"

     * Not required for API-only Applications *

  3. Ensure you have flash messages in app/views/layouts/application.html.erb.
     For example:

       <p class="notice"><%= notice %></p>
       <p class="alert"><%= alert %></p>

     * Not required for API-only Applications *

  4. You can copy Devise views (for customization) to your app by running:

       rails g devise:views
4つの指示
① デフォルトURLオプションを定義
公式でもこちらの設定は必要と書かれています。
At this point, a number of instructions will appear in the console. Among these instructions, you'll need to set up the default URL options for the Devise mailer in each environment.
訳: コンソールにいくつかの指示が表示されます。これらの指示のうち、DeviseメーラーのデフォルトURLオプションを各環境で設定する必要があります。
なぜする必要があるかについては古い記事ですが下記記事を参照しました。
deviseがpasswordの再設定のときなどにurlを取得するメソッドを使っていて、その際にhostを指定する必要があったということです。この記載がないままアプリ開発を続けるとエラーが発生するかなと思います。
指示に従いconfig/environments/development.rb配下に以下の記載をしましょう。
# config/environments/development.rb
# defined default url options for gem "devise"
  config.action_mailer.default_url_options = { host: 'localhost', port: 3000 }
② ルートパスを指定
deviseだと自動で作成されるコントローラのリダイレクト先がルートパスになっているため、あらかじめconfig/routes.rbでルートを設定する必要があります。現在のtaskleafのアプリでは以下のように設定されているのでこの指示は既に満たしています。
root to: 'tasks#index'
ちなみにこれは記載しなくてもいいかなと思います。コントローラ内のリダイレクト先を変えれば済む話かなと思いますので。
③ フラッシュメッセージ用のタグを埋め込む
これはdeviseのフラッシュメッセージを表示させるためのものです。記載しておいてもいいかなと思います。
// app/views/layouts/application.html.slim
p.notice
  = notice
p.alert
  = alert
④ deviseのビューをカスタマイズする時は下記のコマンドを実行
これを実行するとdevise用のたくさんのビューファイルが作成されます。今回は使用してもいいかなと思いますので実行します。
$ rails g devise:views
invoke  Devise::Generators::SharedViewsGenerator
      create    app/views/devise/shared
      create    app/views/devise/shared/_error_messages.html.erb
      create    app/views/devise/shared/_links.html.erb
      invoke  form_for
      create    app/views/devise/confirmations
      create    app/views/devise/confirmations/new.html.erb
      create    app/views/devise/passwords
      create    app/views/devise/passwords/edit.html.erb
      create    app/views/devise/passwords/new.html.erb
      create    app/views/devise/registrations
      create    app/views/devise/registrations/edit.html.erb
      create    app/views/devise/registrations/new.html.erb
      create    app/views/devise/sessions
      create    app/views/devise/sessions/new.html.erb
      create    app/views/devise/unlocks
      create    app/views/devise/unlocks/new.html.erb
      invoke  erb
      create    app/views/devise/mailer
      create    app/views/devise/mailer/confirmation_instructions.html.erb
      create    app/views/devise/mailer/email_changed.html.erb
      create    app/views/devise/mailer/password_change.html.erb
      create    app/views/devise/mailer/reset_password_instructions.html.erb
      create    app/views/devise/mailer/unlock_instructions.html.erb
Userモデルへのカラムの追加
既にUserモデルは作成されていますが下記コマンドを実行しUserモデルのマイグレーションファイルを作ります。
$ rails g devise user
create    db/migrate/20210321134849_add_devise_to_users.rb
      insert    app/models/user.rb
       route  devise_for :users
まずマイグレーションファイルですが、たくさんの記載がされていると思います。
# frozen_string_literal: true

class AddDeviseToUsers < ActiveRecord::Migration[5.2]
  def self.up
    change_table :users do |t|
      ## Database authenticatable
      t.string :email,              null: false, default: ""
      t.string :encrypted_password, null: false, default: ""

      ## Recoverable
      t.string   :reset_password_token
      t.datetime :reset_password_sent_at

      ## Rememberable
      t.datetime :remember_created_at

      ## Trackable
      # t.integer  :sign_in_count, default: 0, null: false
      # t.datetime :current_sign_in_at
      # t.datetime :last_sign_in_at
      # t.inet     :current_sign_in_ip
      # t.inet     :last_sign_in_ip

      ## Confirmable
      # t.string   :confirmation_token
      # t.datetime :confirmed_at
      # t.datetime :confirmation_sent_at
      # t.string   :unconfirmed_email # Only if using reconfirmable

      ## Lockable
      # t.integer  :failed_attempts, default: 0, null: false # Only if lock strategy is :failed_attempts
      # t.string   :unlock_token # Only if unlock strategy is :email or :both
      # t.datetime :locked_at

      # Uncomment below if timestamps were not included in your original model.
      # t.timestamps null: false
    end

    add_index :users, :email,                unique: true
    add_index :users, :reset_password_token, unique: true
    # add_index :users, :confirmation_token,   unique: true
    # add_index :users, :unlock_token,         unique: true
  end

  def self.down
    # By default, we don't want to make any assumption about how to roll back a migration when your
    # model already existed. Please edit below which fields you would like to remove in this migration.
    raise ActiveRecord::IrreversibleMigration
  end
end
Recoverable、Lockableなどの記載がされていますが、こちらについては次回の記事で説明します。
まずマイグレーションファイル自体の挙動ですが、change_tableと記載されていますね。Railsガイドにも詳しく説明が書かれていました。
普段テーブルを作成する時に使うcreate_tableとほぼ変わらないようですが、カラム名を変更したりもできるのでより利便性があるのかなと思います
それでは作成されたマイグレーションファイルをrails db:migrateで反映させます。しかし、このままではマイグレーションファイルをDBに反映できません。理由は既にemailカラムがUserモデルに作られているからです。このままマイグレーションファイルを反映しようとすると下記エラーが出てしまいます。
PG::DuplicateColumn: ERROR: column "email" of relation "users" already exists
ですのでemaiカラム に関する記述はコメントアウトしておきましょう。二箇所コメントアウトする必要があります。
# frozen_string_literal: true

class AddDeviseToUsers < ActiveRecord::Migration[5.2]
  def self.up
    change_table :users do |t|
      ## Database authenticatable
      # t.string :email,              null: false, default: "" # <= コメントアウト
      t.string :encrypted_password, null: false, default: ""

      ## Recoverable
      t.string   :reset_password_token
      t.datetime :reset_password_sent_at

      ## Rememberable
      t.datetime :remember_created_at

      ## Trackable
      # t.integer  :sign_in_count, default: 0, null: false
      # t.datetime :current_sign_in_at
      # t.datetime :last_sign_in_at
      # t.inet     :current_sign_in_ip
      # t.inet     :last_sign_in_ip

      ## Confirmable
      # t.string   :confirmation_token
      # t.datetime :confirmed_at
      # t.datetime :confirmation_sent_at
      # t.string   :unconfirmed_email # Only if using reconfirmable

      ## Lockable
      # t.integer  :failed_attempts, default: 0, null: false # Only if lock strategy is :failed_attempts
      # t.string   :unlock_token # Only if unlock strategy is :email or :both
      # t.datetime :locked_at

      # Uncomment below if timestamps were not included in your original model.
      # t.timestamps null: false
    end

    # add_index :users, :email,                unique: true # <= コメントアウト
    add_index :users, :reset_password_token, unique: true
    # add_index :users, :confirmation_token,   unique: true
    # add_index :users, :unlock_token,         unique: true
  end

  def self.down
    # By default, we don't want to make any assumption about how to roll back a migration when your
    # model already existed. Please edit below which fields you would like to remove in this migration.
    raise ActiveRecord::IrreversibleMigration
  end
end
これでマイグレーションを行ってみましょう。
$ bin/rails db:migrate
== 20210321134849 AddDeviseToUsers: migrating =================================
-- change_table(:users)
   -> 0.0034s
-- add_index(:users, :reset_password_token, {:unique=>true})
   -> 0.0025s
== 20210321134849 AddDeviseToUsers: migrated (0.0061s) ========================
マイグレーションファイルが無事に反映されたかと思います。
ちなみに先ほど行ったrails g devise userによって2つのファイルに対して追記されます。まずはapp/models/user.rbに追記されています。
# app/models/user.rb
class User < ApplicationRecord
  # Include default devise modules. Others available are:
  # :confirmable, :lockable, :timeoutable, :trackable and :omniauthable
  devise :database_authenticatable, :registerable,
         :recoverable, :rememberable, :validatable
  has_secure_password

  validates :name, presence: true
  validates :email, presence: true, uniqueness: true

  has_many :tasks
end
こちらの追記は先ほど説明を省いたマイグレーションファイルのRecoverable、Lockableなどに対応していることが予想できます。これは次回の記事で説明します。
次にroutes.rbに対してdevise_for :usersが追記されています。
Rails.application.routes.draw do
  devise_for :users
これはdeviseによるユーザー登録機能や認証機能などのルーティングを自動で生成してくれます。念のためルーティングを調べてみましょう。
$ rails routes
                                     Prefix Verb   URI Pattern                               Controller#Action
         new_user_session GET    /users/sign_in(.:format)                  devise/sessions#new
             user_session POST   /users/sign_in(.:format)                  devise/sessions#create
     destroy_user_session DELETE /users/sign_out(.:format)                 devise/sessions#destroy
        new_user_password GET    /users/password/new(.:format)             devise/passwords#new
       edit_user_password GET    /users/password/edit(.:format)            devise/passwords#edit
            user_password PATCH  /users/password(.:format)                 devise/passwords#update
                          PUT    /users/password(.:format)                 devise/passwords#update
                          POST   /users/password(.:format)                 devise/passwords#create
 cancel_user_registration GET    /users/cancel(.:format)                   devise/registrations#cancel
    new_user_registration GET    /users/sign_up(.:format)                  devise/registrations#new
   edit_user_registration GET    /users/edit(.:format)                     devise/registrations#edit
        user_registration PATCH  /users(.:format)                          devise/registrations#update
                          PUT    /users(.:format)                          devise/registrations#update
                          DELETE /users(.:format)                          devise/registrations#destroy
                          POST   /users(.:format)                          devise/registrations#create
本当にたくさんのルーティングが追加されていますね。これをコマンド一つで行ってくれるわけですので大変便利です。
ビューの編集
次にビューの編集を行います。現在taskleafではgemなしでログイン機能を作成しています。
該当のビューファイル
// app/views/layouts/application.html.slim
ul.navbar-nav.ml-auto
  - if current_user
    li.nav-item= link_to 'タスク一覧', tasks_path, class: 'nav-link'
    - if current_user.admin?
      li.nav-item= link_to 'ユーザー一覧', admin_users_path, class: 'nav-link'
    li.nav-item= link_to 'ログアウト', logout_path, method: :delete, class: 'nav-link'
  - else
    li.nav-item= link_to 'ログイン', login_path, class: 'nav-link'
.container
- if flash.notice.present?
  .alert.alert-success= flash.notice
ここに対してdeviseのログイン機能で置き換えます。
// app/views/layouts/application.html.slim
ul.navbar-nav.ml-auto
  - if current_user
    li.nav-item= link_to 'タスク一覧', tasks_path, class: 'nav-link'
    - if current_user.admin?
      li.nav-item= link_to 'ユーザー一覧', admin_users_path, class: 'nav-link'
    li.nav-item= link_to 'ログアウト', destroy_user_session_path, method: :delete, class: 'nav-link'
  - else
    li.nav-item= link_to 'ログイン', new_user_session_path, class: 'nav-link'
    li.nav-item= link_to "新規登録", new_user_registration_path, class: 'post' , class: 'nav-link'
.container
- if flash.notice.present?
  .alert.alert-success= flash.notice
= yield
置き換えた箇所はログインとログアウトのパスをdeviseのルーティングに置き換えたのみです。
logout_path  =>  destroy_user_session_path
login_path   =>  new_user_session_path
それに加えて新規ユーザー登録のためのパスも追記しています。
li.nav-item= link_to "新規登録", new_user_registration_path, class: 'post' , class: 'nav-link'
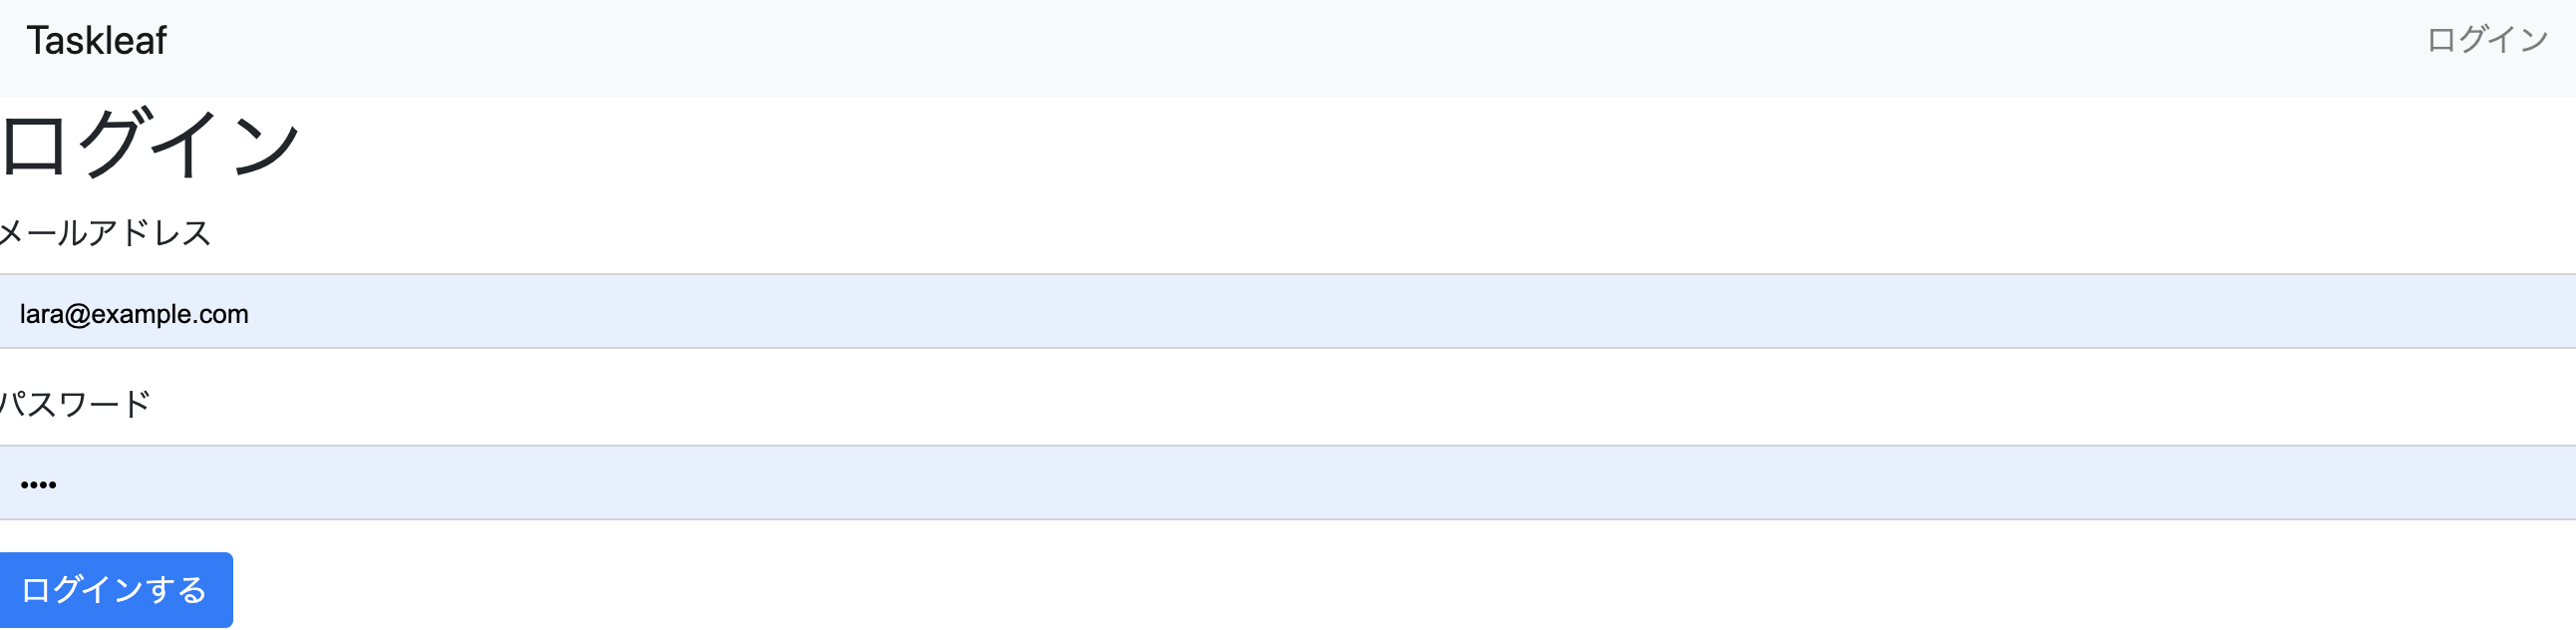
現状の画面は以下になります。

ここで新規登録画面に線してみましょう。しかしこのままだと新規登録画面に遷移しようとするとログイン画面に戻されてしまいます。login_requiredが適応されているのでコントローラーで記載されているlogin_requiredの中身をコメントアウトしてメソッドを無効化しましょう。
def login_required
  # redirect_to login_url unless current_user
end
それでは新規登録画面に遷移してみましょう。
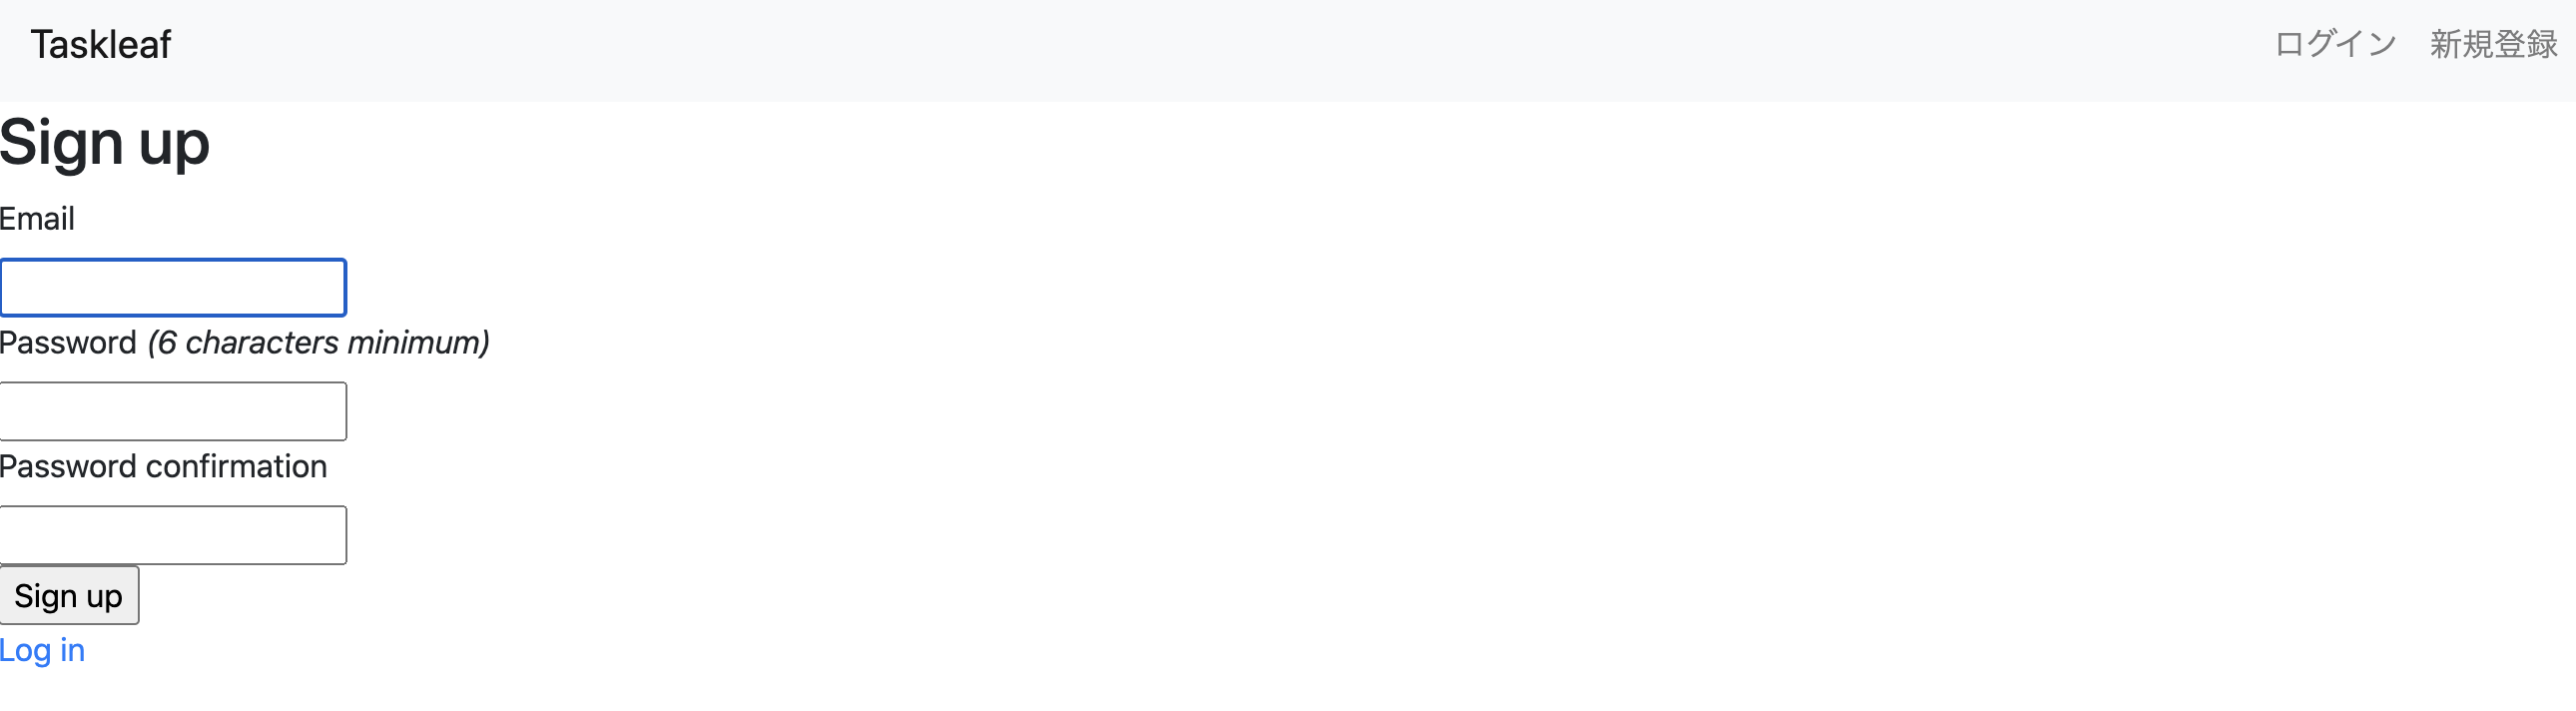
Bootstrapなどは現状適用していないため不格好な画面になります。加えてこのままではユーザー新規作成ができません。nameカラムの入力が必須であるからです。
class User < ApplicationRecord
  validates :name, presence: true
end
ですので登録画面を編集しましょう。ただ、deviseで先ほど作成したファイルはerbファイルですので、これをslimに変換しましょう。
$ bundle exec erb2slim app/views/devise/ --delete
これでdeviseディレクトリ配下の全てのerbファイルがslimに切り替わりました。
しかし、新規登録画面にアクセスするとエラー画面になりました。
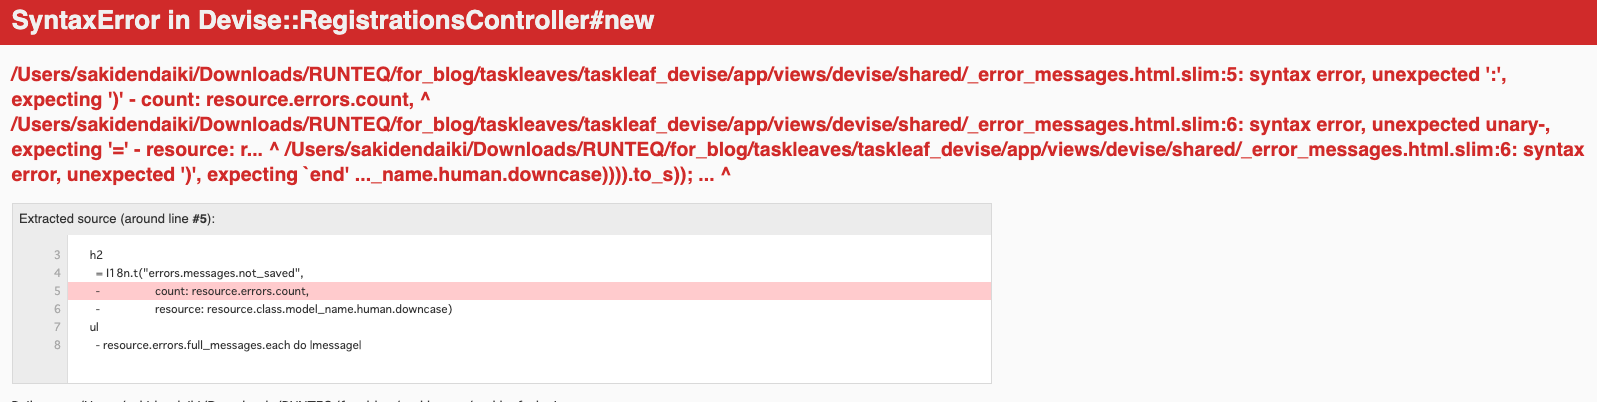
エラー該当箇所は以下のファイルです。
- if resource.errors.any?
  #error_explanation
    h2
      = I18n.t("errors.messages.not_saved",
      -                  count: resource.errors.count,
      -                  resource: resource.class.model_name.human.downcase)
    ul
      - resource.errors.full_messages.each do |message|
        li
          = message
何がおかしいのかというと、countとresourceの後ろに-があることですね。I18n.tのカッコの中にcount~とresource~があるので、-があるのはおかしいというわけです。修正しましょう。
- if resource.errors.any?
  #error_explanation
    h2
      = I18n.t("errors.messages.not_saved",
                        count: resource.errors.count,
                        resource: resource.class.model_name.human.downcase)
    ul
      - resource.errors.full_messages.each do |message|
        li
          = message
修正したら無事に新規登録画面が開けたかと思います。
余談ですがこちらのコマンドは実際よく使います。slimファイルは記法が簡潔で便利なのですが、インテンドミスなどでエラーになったり、書き方が簡潔ではあるものの少し独特で慣れるまでに時間がかかります。反対に、erbはかなり馴染みのある記法ですのでまだslimよりは書きやすいかなと。そのため、よくerbで記載してから上記のコマンドでslimに変換するということをします。ですので、上のコマンドはコピペできるようにどこかにメモしておくといいと思います。今回のようにエラーが起きるかもしれませんが、、、
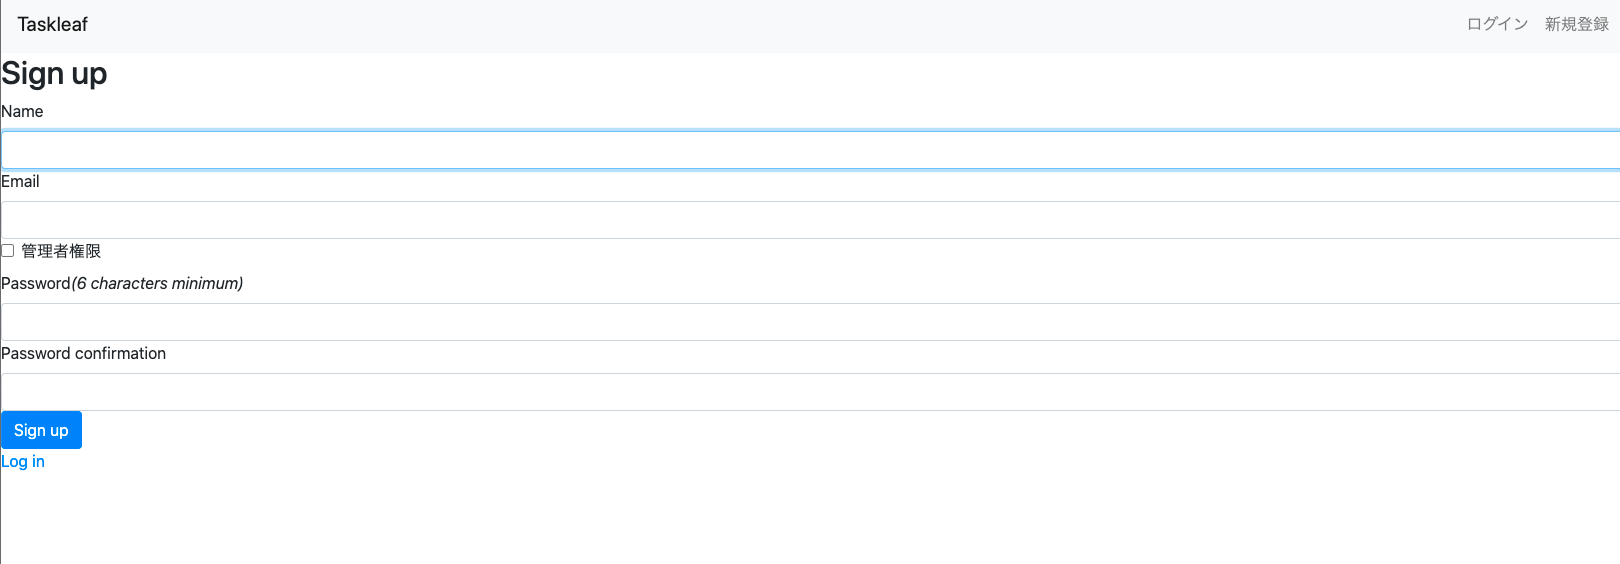
それでは新規登録画面のapp/views/devise/registrations/new.html.slimを編集します。といってもnameカラムのフォームを追加するだけです。あとはフォームやボタンにBootstrapのクラスを付与しています。
h2
  | Sign up
= form_for(resource, as: resource_name, url: registration_path(resource_name)) do |f|
  = render "devise/shared/error_messages", resource: resource
  .field
    = f.label :name
    br
    = f.text_field :name, autofocus: true, autocomplete: "name", class: 'form-control'
  .field
    = f.label :email
    br
    = f.email_field :email, autofocus: true, autocomplete: "email", class: 'form-control'
  .form-check
    = f.label :admin, class: 'form_check_label' do
      = f.check_box :admin, class: 'form-check-input'
      | 管理者権限
  .field
    = f.label :password
    - if @minimum_password_length
      em
        | (
        = @minimum_password_length
        |  characters minimum)
    br
    = f.password_field :password, autocomplete: "new-password", class: 'form-control'
  .field
    = f.label :password_confirmation
    br
    = f.password_field :password_confirmation, autocomplete: "new-password", class: 'form-control'
  .actions
    = f.submit "Sign up", class: 'btn btn-primary'
= render "devise/shared/links"
新規登録画面
それでは実際に新規登録画面を入力しましょう。注意点として、既にtaskleafで登録しているemailは使わないようにしてください。emailカラムは一意になるようにバリデーションされているためです。
ここで実際に新規登録を行おうとしますが下記エラーが出てきてしまいますね。
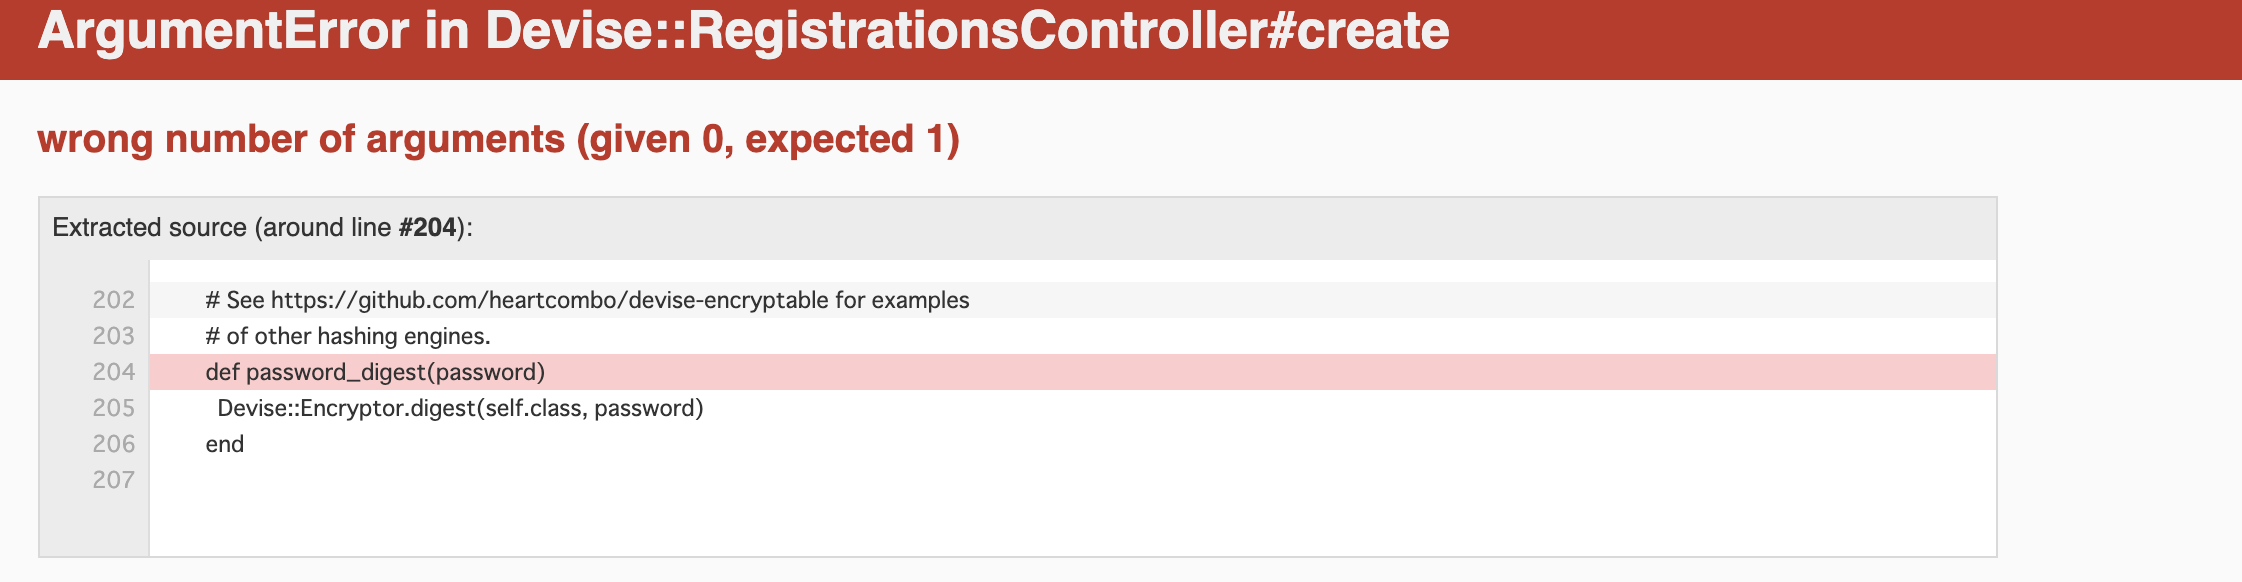
こちらについては下記記事に記載されています。
要約するとdeviseではtaskleafで使用していたセキュアパスワードを設定してくれるhas_secure_passwordが使えないということです。こちらコメントアウトしましょう。
class User < ApplicationRecord
  # has_secure_password
end
そしてパスワードで気付いたのですが、現在パスワードに関するカラムが二つ登録されている状態です。
create_table "users", force: :cascade do |t|
  t.string "password_digest", null: false
  t.string "encrypted_password", default: "", null: false
end
encrypted_passwordは上記の記事の通りdeviseで管理しています。password_digestは不要かなと思うので削除しましょう。
$ rails generate migration RemovePasswordDigestFromUsers password_digest:string
class RemovePasswordDigestFromUsers < ActiveRecord::Migration[5.2]
  def change
    remove_column :users, :password_digest, :string
  end
end
$ rails db:migrate
== 20210322140535 RemovePasswordDigestFromUsers: migrating ====================
-- remove_column(:users, :password_digest, :string)
   -> 0.0194s
== 20210322140535 RemovePasswordDigestFromUsers: migrated (0.0195s) ===========
これで無事にユーザー登録ができるようになりました。
ユーザー登録ができればそのままログインできるようになるようです。

細かい制御などについては別記事で紹介するつもりです。
deviseは思ったよりも難解なgemだと思うので複数に分けて紹介していこうと思います!
以上、大ちゃんの駆け出し技術ブログでした!